
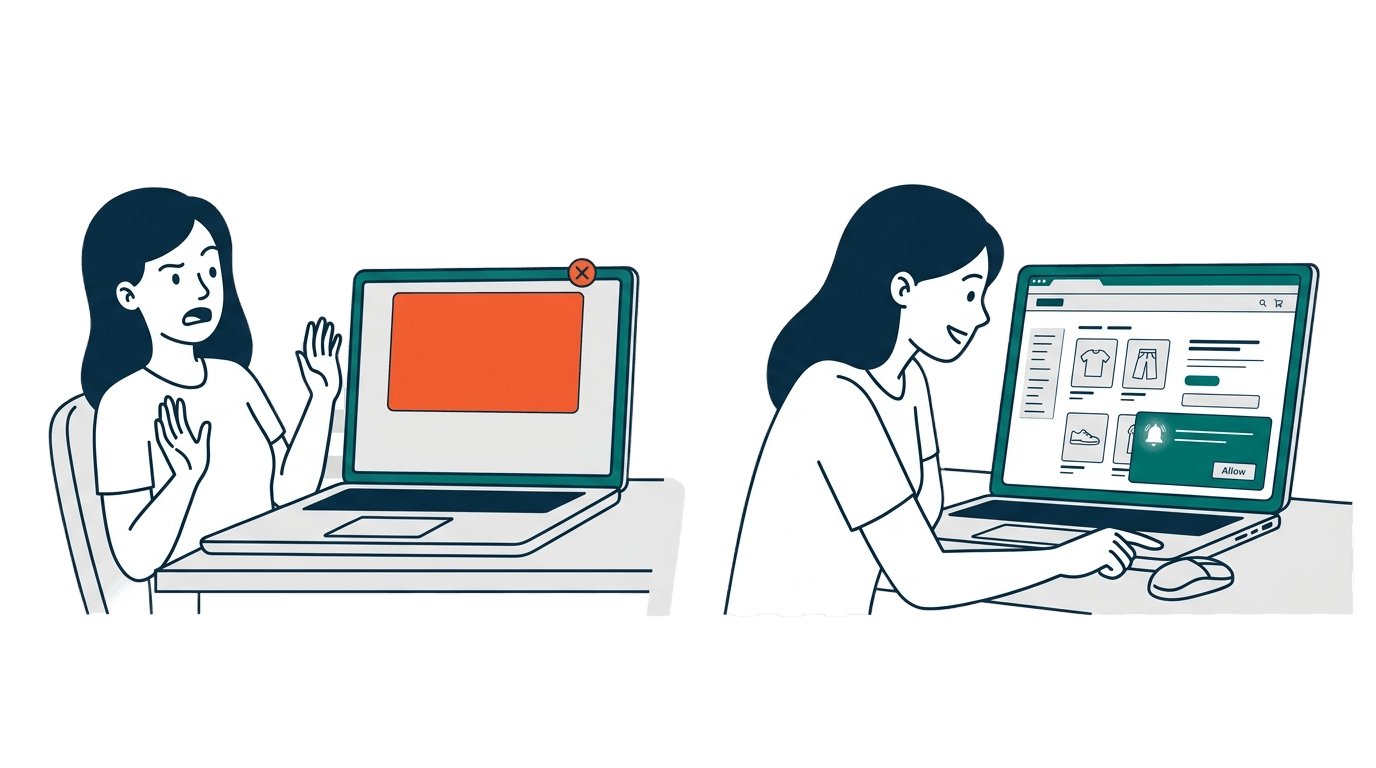
Picture this. A shopper lands on your Shopify store for the first time. Before they even see a single product, a popup appears asking them to allow notifications. They have no idea who you are or what you sell. What do they do? They hit “Block” and move on.
That one moment just cost you a potential subscriber forever. Because once a visitor blocks notifications in their browser, your site cannot ask them again. The browser remembers that decision, and only the visitor can undo it manually through their settings.
This is why the permission prompt is the most important step in your entire push notification strategy. Get it right, and you build a growing list of engaged subscribers. Get it wrong, and you lose visitors before they even give you a chance.
Why Most Permission Prompts Fail
The biggest mistake store owners make is showing a generic permission prompt the second someone lands on their site. The visitor has no context. They do not know your brand, they have not seen your products, and they have zero reason to trust you with their attention.
A bad permission prompt feels like someone you just met asking for your phone number. It is too much, too soon.
The goal is to ask for permission at the right moment, with the right message, in the right way. Let us break down how to do that.
Write a Message That Explains the “Why”
Your permission prompt should answer one simple question for the visitor: “What is in it for me?”
Most default prompts say something like “This site wants to send you notifications.” That gives the visitor no reason to say yes. Instead, tell them exactly what they will get.
Here are some examples that work well for Shopify stores:
For a fashion store: “Get notified when new collections drop and when your favorite items go on sale. No spam, just the good stuff.”
For an electronics store: “Be the first to know about flash deals, price drops, and back-in-stock alerts. Delivered straight to your browser.”
For a beauty brand: “Love deals? Turn on notifications to get early access to sales and exclusive offers before anyone else.”
For a general store: “We will only notify you about things that matter: price drops on products you viewed, cart reminders, and limited-time offers.”
Notice how each message is specific and benefit-focused. The visitor immediately understands what they will receive and why it is worth saying yes. This kind of message builds trust before you even send the first notification.
Choose the Right Moment to Show the Prompt
Timing matters just as much as the message. Showing the prompt too early feels pushy. Showing it too late means many visitors leave before they ever see it.
With PingLane, you have two ways to control when your prompt appears:
Time delay: Set the prompt to appear after the visitor has spent a few seconds on your store. A delay of 5 to 10 seconds gives them time to look around and understand what your store is about before you ask for permission. This small pause makes a big difference in opt-in rates.
Scroll trigger: Show the prompt after the visitor scrolls down a certain amount on the page. This approach is even better because scrolling is a signal of genuine interest. If someone is scrolling through your product collection, they are engaged and more likely to subscribe.
Both options are available in the permission prompt settings inside your PingLane dashboard. You can test different delays to find what works best for your store.
Design Different Prompts for Desktop and Mobile
Desktop and mobile shoppers behave differently, and your permission prompt should reflect that. With PingLane, you can control which devices see each prompt using the Device Settings toggle in your prompt configuration. This means you can create one prompt for desktop and a completely different one for mobile.
For desktop visitors, a Toast Style prompt that appears in the top-right corner of the screen works well. It is visible but does not block the page content. Desktop users are usually browsing with a wider screen, so a small corner popup feels natural and non-intrusive.
For mobile visitors, a Corner Style or Safari Classic prompt tends to grab more attention. Mobile screens are smaller, so the prompt needs to be clear and easy to tap. The message should be shorter and the buttons large enough to tap without accidentally closing the popup.
Here is how you might set this up in PingLane:
Desktop prompt: Use the Toast Style template. Set a 5-second delay. Write a message like: “Stay in the loop. Get notified about new arrivals and exclusive deals.”
Mobile prompt: Use the Corner Style template. Set a scroll trigger instead of a time delay, so the prompt appears only after the shopper starts browsing. Write a shorter message like: “Want deal alerts? We will let you know when prices drop.”
By tailoring the prompt to each device, you create a better experience for the visitor and get more opt-ins in the process.
What Happens When a Visitor Says “Not Now”
Not every visitor will subscribe on the first ask, and that is completely fine. The key is to give them a gentle way to decline without losing them forever.
PingLane prompts include a “Not now” or “Maybe Later” button alongside the “Allow” button. When a visitor clicks “Not now,” they are simply dismissing your custom prompt. They are not blocking notifications in their browser. This is an important distinction.
You can configure how long PingLane waits before showing the prompt again to that same visitor. In the permission prompt settings, there is a “Wait before showing again” option where you set the number of days. For example, setting it to 7 days means the visitor will see the prompt again after a week. You could also try 14 or 21 days depending on how often your visitors come back.
This re-prompting strategy is powerful. A visitor who said “Not now” on their first visit might be in a completely different mindset a week later, especially if they came back to your store on their own. They already know your brand and might be ready to subscribe.
What Happens When a Visitor Blocks Notifications
This is the scenario every store owner wants to avoid. When a visitor clicks “Block” on the browser’s native permission dialog, the browser remembers that choice permanently. Your site cannot trigger the permission prompt again. The visitor would need to go into their browser settings and manually re-enable notifications for your site.
Most visitors do not know how to do that, which is why PingLane includes a Resubscribe Prompt feature. If a returning visitor previously blocked notifications, PingLane detects this and shows them a step-by-step guide explaining how to reset their notification permission in the browser. It walks them through the exact steps with visual cues, and includes a “Done, Reload” button to reload the page once they have re-enabled notifications.
This is a smart recovery tool, but prevention is always better. The best way to avoid blocks is to never trigger the browser’s native prompt too early. With PingLane’s custom prompts, the native browser dialog only appears after the visitor clicks “Allow” on your custom prompt first. This two-step approach acts as a soft filter: only visitors who genuinely want to subscribe will see the native browser prompt.
Target the Right Pages and Locations
Not every page on your store is a good place to ask for permission. With PingLane, you can control exactly where your prompt appears using URL targeting:
Show the prompt on high-intent pages. Product pages and collection pages are great choices because visitors on these pages are actively shopping. They are more likely to see value in getting notified about deals and updates.
Hide the prompt on checkout and cart pages. You do not want to interrupt a visitor who is about to complete a purchase. Let them finish their order without distractions.
You can also use location targeting to show the prompt only to visitors from specific countries, which is useful if your store ships to certain regions.
Quick Checklist for Better Permission Prompts
Here is a summary of everything we covered to help you get more subscribers without annoying your visitors:
- Write a benefit-focused message that tells visitors what they will receive
- Add a time delay or scroll trigger so the prompt appears after the visitor has had a chance to browse
- Create separate prompts for desktop and mobile with different styles and messages
- Set a re-prompt gap of 7 to 21 days for visitors who click “Not now”
- Use URL targeting to show the prompt on high-intent pages like product and collection pages
- Let PingLane’s two-step approach protect you from accidental blocks
- Enable the Resubscribe Prompt to recover visitors who previously blocked notifications
Your permission prompt is the gateway to your entire push notification channel. A few small improvements to how and when you ask can make a massive difference in how many subscribers you gain each month.
Ready to customize your permission prompts? Head to the Permission Prompts section in your PingLane dashboard and start building prompts that convert.